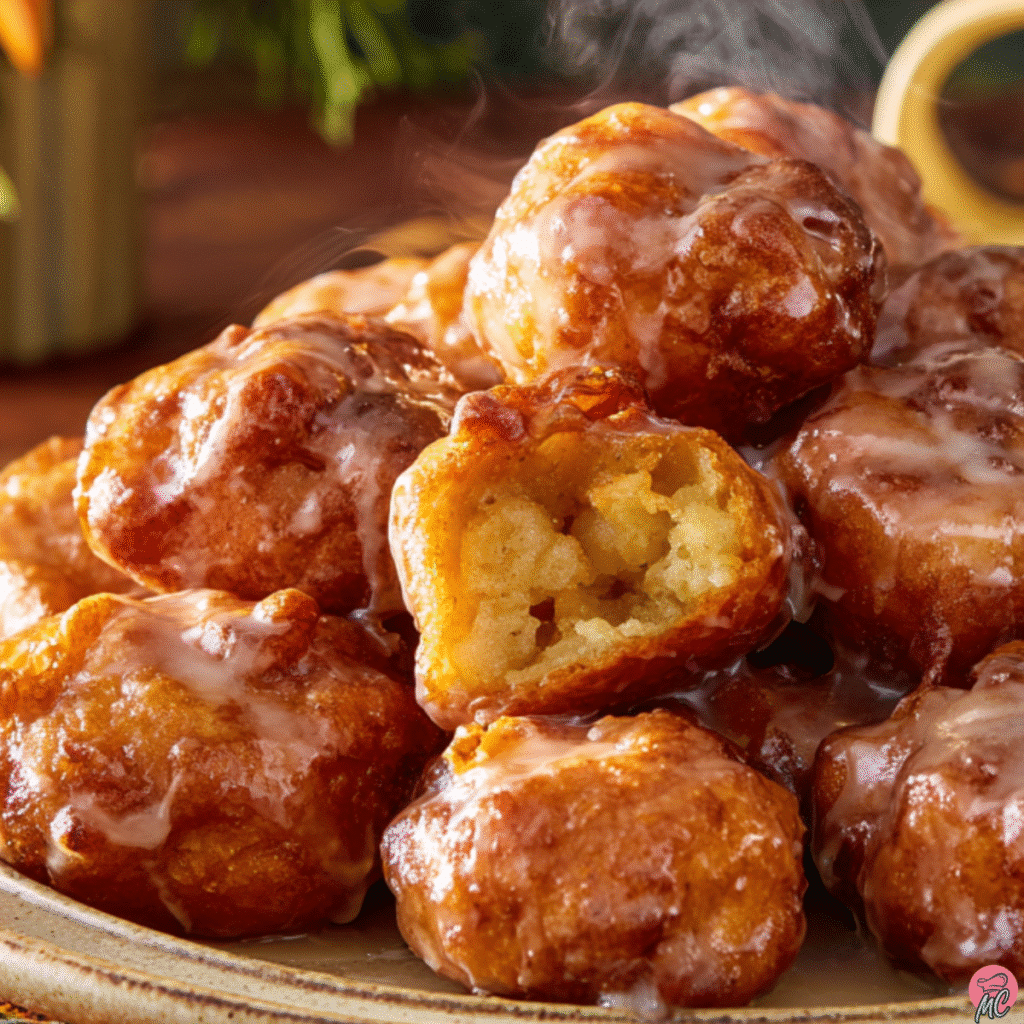
There’s something magical about the first bite of a warm cinnamon glazed apple fritter bite. The crispy golden shell, the soft apple center, and that sweet, sticky glaze laced with cinnamon make every piece feel like a cozy fall hug. These fritter bites are easier to make than you might think, and their bite-sized nature makes them perfect for sharing at gatherings, brunches, or as a sweet afternoon treat. In this recipe, you’ll learn how to get that crispy finish, which apples fry best, and how to make a glaze that coats beautifully without melting off.
Table of Contents
Table of Contents
WHY YOU’LL LOVE THESE CINNAMON GLAZED APPLE FRITTER BITES
If you’ve ever stood in line at a bakery dreaming of warm fritters, these homemade cinnamon glazed apple fritter bites will bring that same joy straight to your kitchen. But here’s what makes this recipe truly special.
Perfectly Bite-Sized for Snacking and Sharing
Unlike traditional fritters that require cutting and can get messy, these bites are portioned just right. Each one fits neatly in your hand, making them ideal for sharing with family, serving at parties, or packing in lunchboxes. They’re like mini donuts with a twist. Apple chunks are tucked inside a soft, airy batter and wrapped in a cinnamon-kissed glaze.
These small bites also cook more evenly than full-sized fritters. Because of their size, you get that golden crisp exterior without overcooking the interior. They’re satisfying but light, indulgent yet not overwhelming.
A Flavor Combo That Screams Fall Comfort
The base is tender apple chunks folded into a gently spiced batter. The real flavor magic comes from the cinnamon glaze. It’s sweet, warm, and comforting. Exactly what you want on a chilly day. Whether you’re baking for a fall festival, Friendsgiving, or just a cozy weekend treat, these bites deliver flavor in every single piece.
They also reheat beautifully, making them a practical option if you’re baking ahead. Serve them as part of a fall brunch alongside warm cider, or pair with a scoop of vanilla ice cream for a casual dessert that still feels special.
INGREDIENTS
The secret to truly unforgettable cinnamon glazed apple fritter bites lies in selecting the right ingredients and understanding how each one contributes to flavor and texture. Let’s break it down so you get perfect bites every time.
The Best Apples for Fritter Bites
Not all apples hold up well to frying. You want apples that are firm enough to maintain their shape and offer a balance of sweet and tart flavor.
Top choices:
- Granny Smith: Firm and tart. Perfect for contrast in sweet batters.
- Honeycrisp: Juicy, crisp, and sweet with a subtle tartness.
- Gala: Mildly sweet and soft, ideal if you prefer a gentler apple flavor.
Avoid very soft varieties like Red Delicious, which can turn mushy during frying.
For best results, peel and dice the apples into small chunks, about the size of a blueberry. This ensures they cook evenly and fit nicely inside each fritter bite.
Building the Flavorful Batter
The batter is where softness meets structure. Here’s what you’ll need:
- All-purpose flour: Provides the base. For gluten-free fritters, you can substitute a 1:1 gluten-free baking flour like Cup4Cup.
- Baking powder: Gives the batter a light, airy texture.
- Sugar: White sugar works best for sweetness without heaviness.
- Cinnamon, nutmeg, a pinch of clove: This trio brings warmth and spice. Be cautious with clove, as a little goes a long way.
- Milk: Whole milk creates a richer batter. Use oat or almond milk for a dairy-free option.
- Egg: Binds the batter and helps with lift.
- Butter: Adds moisture and flavor. Use vegan butter for dairy-free needs.
- Vanilla extract: Adds a soft, aromatic finish that complements the apples beautifully.
The Cinnamon Glaze
This is the showstopper. A good glaze clings to each fritter bite without soaking it. You’ll need:
- Powdered sugar: For smoothness.
- Cinnamon: The bold flavor note.
- Milk: Adjust the amount for desired consistency.
- Vanilla extract: Optional, but recommended.
You can also try maple syrup instead of milk for a maple glaze, or add a spoonful of softened cream cheese for a rich, slightly tangy finish.
STEP-BY-STEP
Now that you know which ingredients shine in this recipe, let’s walk through the full process of creating perfectly crisp and tender cinnamon glazed apple fritter bites. Follow each step carefully and you’ll have golden, delicious results every time.
Step 1: Prep Your Apples
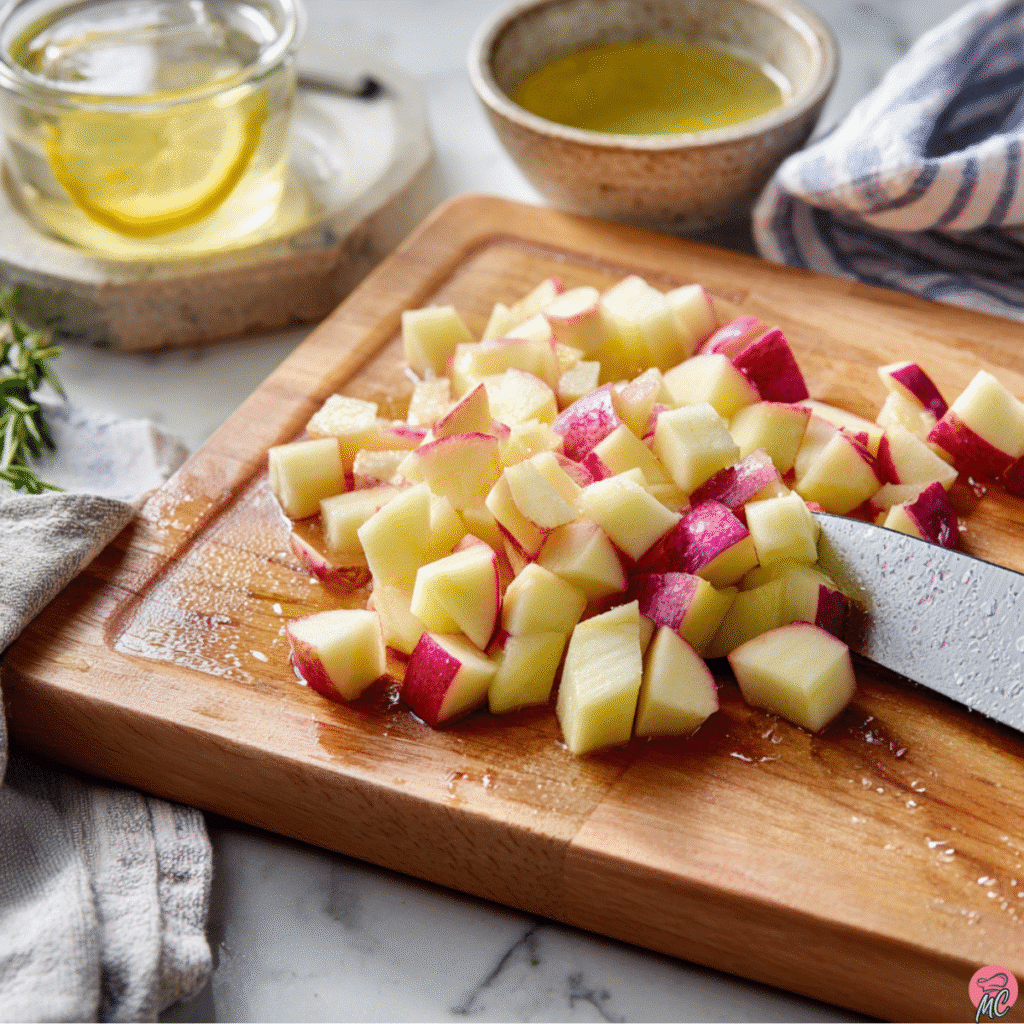
Peel and core two medium apples. Dice them into small, even chunks—no larger than a blueberry. This size ensures even cooking and keeps the bites truly bite-sized. Pat the apple pieces dry with a paper towel to remove excess moisture, which helps avoid soggy batter.
Step 2: Make the Batter
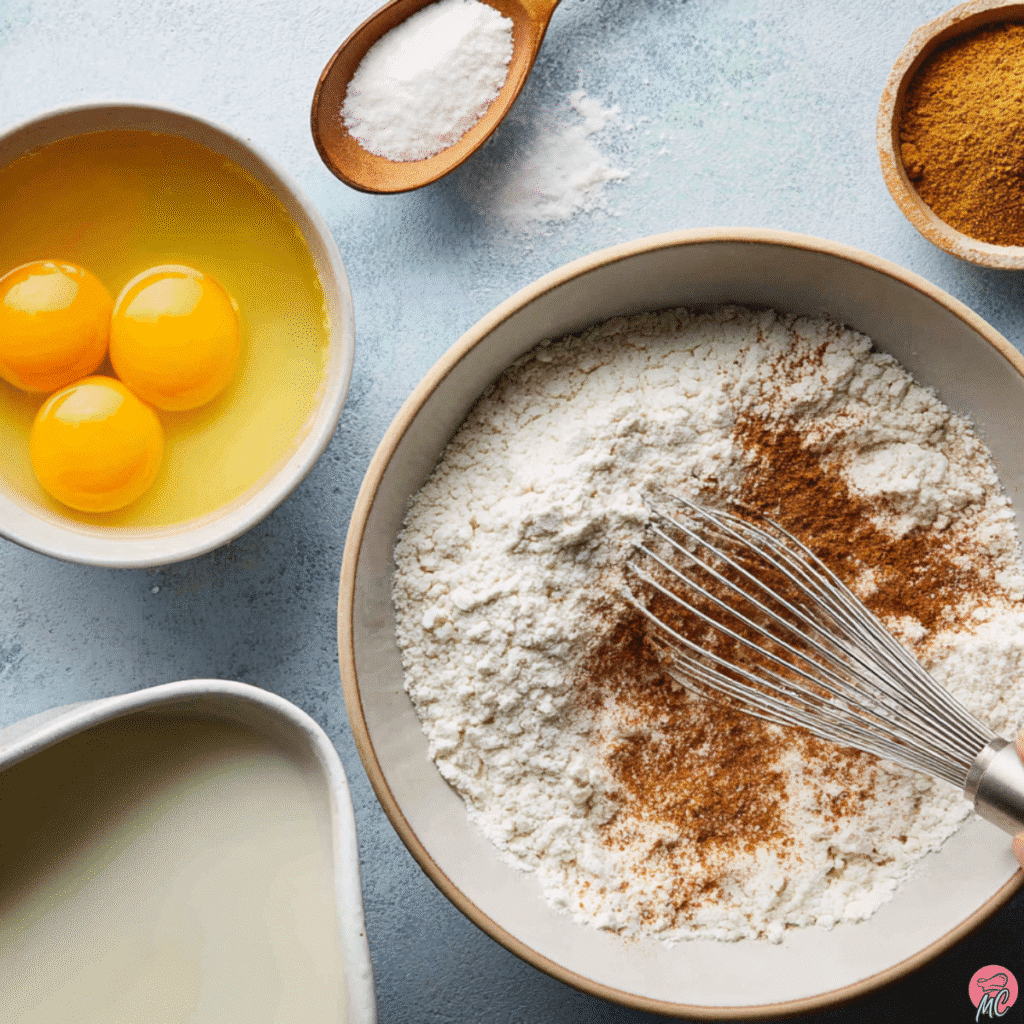
In a medium bowl, whisk together:
- 1 cup all-purpose flour
- 2 teaspoons baking powder
- 2 tablespoons white sugar
- 1 teaspoon ground cinnamon
- 1/4 teaspoon nutmeg
- A small pinch of ground clove
- 1/4 teaspoon salt
In a separate bowl, combine:
- 1/3 cup milk
- 1 large egg
- 1 tablespoon melted butter
- 1 teaspoon vanilla extract
Pour the wet ingredients into the dry and stir gently until just combined. Fold in your diced apples. The batter will be thick and slightly sticky.
Step 3: Heat the Oil
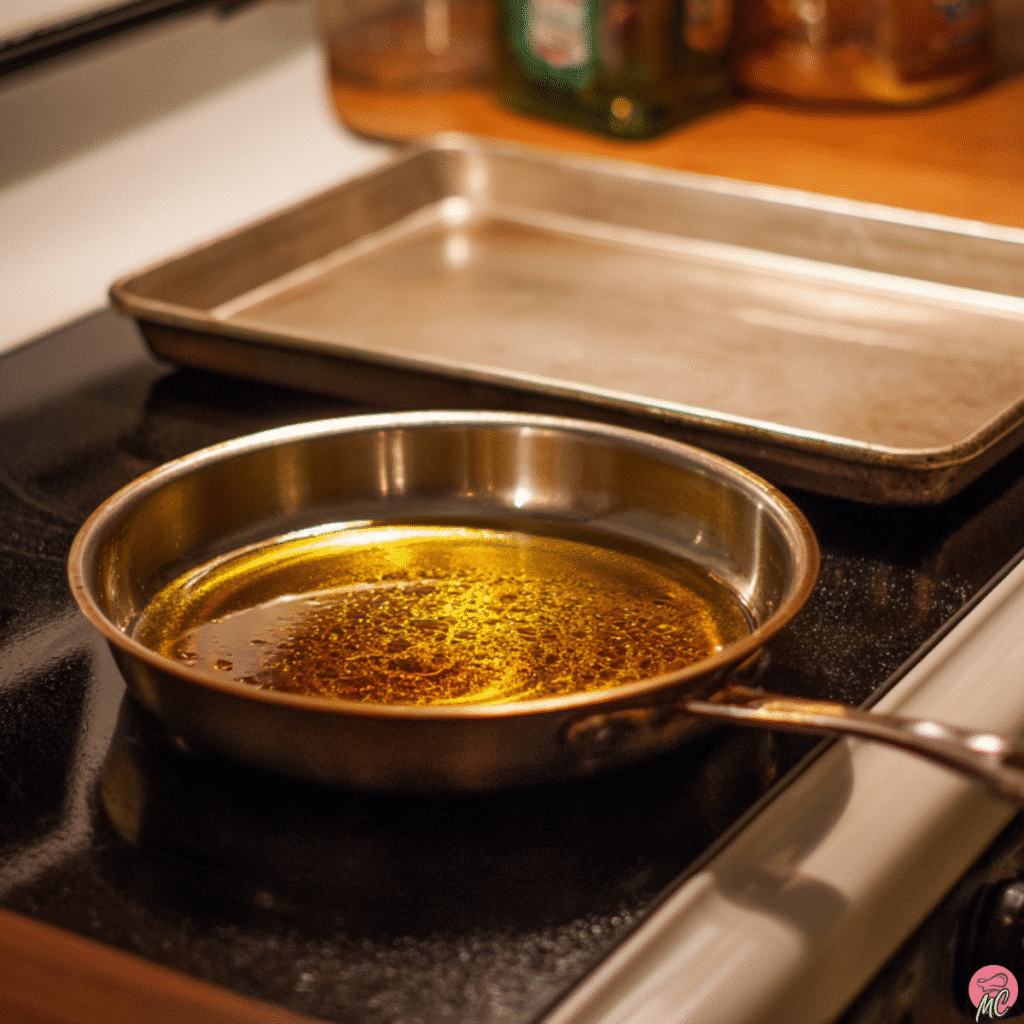
Use a neutral oil like canola or vegetable oil, which can handle high heat without smoking or overpowering the flavor.
Pour about 2 inches of oil into a deep skillet or saucepan. Heat to 350°F (175°C). Use a thermometer for accuracy, or drop a small bit of batter in the oil. If it sizzles and rises to the surface, the oil is ready.
Pro Tip: Keep the oil between 340°F and 360°F while frying. Oil that’s too hot will brown the outside too fast. If it’s too cool, the fritters absorb oil and become greasy.
Step 4: Fry the Fritter Bites
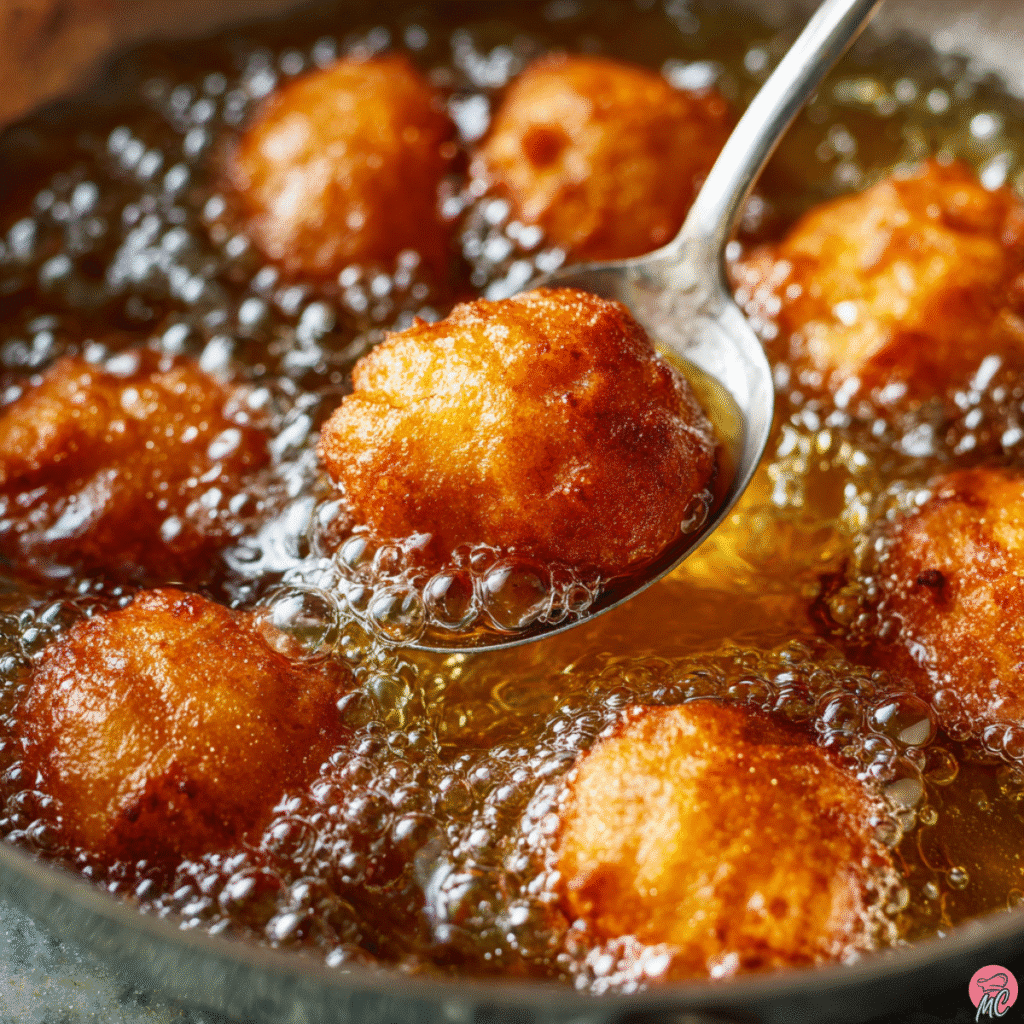
Using a small cookie scoop or spoon, drop heaping teaspoons of batter into the hot oil, 4 to 5 at a time. Do not overcrowd the pan, which can drop the oil temperature and lead to soggy fritters.
Fry each batch for about 2 to 3 minutes, turning occasionally, until golden brown on all sides. Remove with a slotted spoon and drain on a paper towel-lined plate or wire rack.
Step 5: Glaze the Fritters
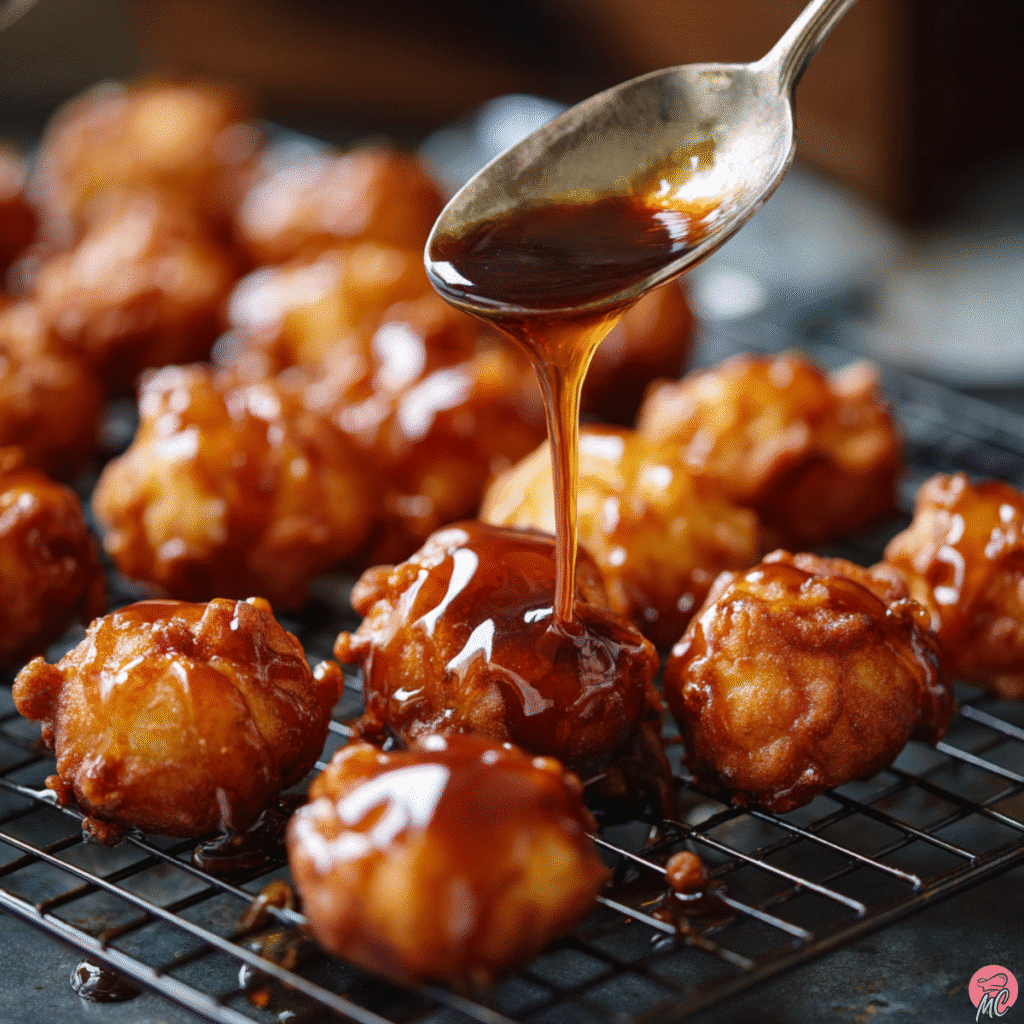
In a small bowl, mix:
- 1 cup powdered sugar
- 1/2 teaspoon cinnamon
- 1 to 2 tablespoons milk (adjust for desired consistency)
- Optional: 1/2 teaspoon vanilla extract
Dip each fritter while still warm, not hot. If the fritter is too hot, the glaze will slide off. Let excess glaze drip off before placing the fritter on a rack to set.
Want to switch it up? Try replacing the milk with maple syrup for a maple glaze, or add a bit of softened cream cheese to create a tangy finish.
TROUBLESHOOTING AND PRO TIPS FOR PERFECT FRITTER BITES
Even the best bakers occasionally run into hiccups with fritters. If your cinnamon glazed apple fritter bites didn’t turn out quite right the first time, don’t worry. Here’s how to fix common issues and ensure success next time.
Why Are My Fritters Greasy or Too Soft?
Greasy fritters usually mean your oil wasn’t hot enough. When oil is below 340°F, the batter absorbs it instead of crisping. Always monitor your oil with a thermometer if possible. Also, avoid overcrowding the pan. Fry in small batches to maintain a consistent temperature.
Make sure to drain each batch properly. Lay fritters on a wire rack or paper towels immediately after frying to keep the bottoms from steaming and softening.
Why Are My Fritters Raw in the Middle?
This happens when the exterior browns too quickly while the inside remains undercooked. The likely cause is oil that’s too hot. Keep your oil between 340°F and 360°F, and make sure each fritter is about the same size so they cook evenly.
If you’re not sure they’re done, cut one open. The center should be fluffy, not doughy.
Glaze Troubleshooting: Too Thin or Too Thick
Too thin? Add more powdered sugar a tablespoon at a time.
Too thick? Add milk or maple syrup in tiny amounts until smooth.
For a more elegant glaze with a soft set, dip the fritters while warm and let them cool on a wire rack. If you like a thicker coat that sets firmer, let the fritters cool slightly before glazing.
Texture Tips for Crispy Outside, Soft Inside
- Pat apples dry before mixing them into the batter.
- Don’t skip the baking powder. It’s essential for puffiness.
- Use a cookie scoop for even fritter sizes.
- Glaze quickly while the fritters are warm, but not hot.
For more quick snack ideas, you might enjoy these frozen yogurt banana pops from the Myriad Cooking blog. They’re perfect if you’re craving something sweet but chilled instead of fried.
MAKE AHEAD, STORAGE, AND REHEATING TIPS
One of the most common questions about cinnamon glazed apple fritter bites is whether they can be made ahead of time without losing their delicious texture. The good news is, with a few simple tricks, they can be almost as good on day two as they are fresh.
Can I Make These Fritter Bites Ahead of Time?
Yes, you can! The best method is to prepare and fry the fritter bites in advance, but wait to glaze them until just before serving. Unglazed fritters keep their texture better and can be easily reheated to regain crispness.
You can also prep the batter (without apples) a few hours ahead and refrigerate it. Fold in the chopped apples just before frying to avoid the batter becoming too watery.
How to Store Apple Fritter Bites
Once completely cooled and glazed, store the fritters in a single layer in an airtight container at room temperature for up to 2 days. If stacking, place parchment paper between layers to prevent sticking.
For longer storage, skip the glaze and freeze them. Place the cooled fritters on a baking sheet lined with parchment paper and freeze until solid. Then transfer to a zip-top bag. They’ll keep for up to 2 months.
How to Reheat Without Losing the Crunch
The key to a good reheat is avoiding the microwave. It softens the fritters and melts the glaze.
Best method:
- Reheat unglazed fritters in a 350°F oven or toaster oven for about 6 to 8 minutes.
- For frozen fritters, no need to thaw. Just extend the baking time slightly.
- Once warm, dip them in fresh glaze for that just-made finish.
Pair your reheated fritters with a cozy drink or a chilled snack like Hummus with carrots and olives for a balanced treat.
VARIATIONS AND DIETARY OPTIONS
One of the best things about this cinnamon glazed apple fritter bites recipe is how easy it is to adapt. Whether you’re gluten-free, dairy-free, or just looking for something a little different, there are simple swaps and creative twists to make it your own.
Gluten-Free Apple Fritter Bites
To make this recipe gluten-free, use a 1:1 gluten-free flour blend that includes xanthan gum. Popular options like Cup4Cup or Bob’s Red Mill Gluten-Free 1-to-1 Baking Flour work well. Avoid coconut flour or almond flour, which will throw off the texture.
Tip: Let the batter sit for 5 to 10 minutes before frying. This gives the gluten-free flour time to hydrate and creates a better texture.
Dairy-Free Adaptations
This recipe can be made completely dairy-free with a few easy swaps:
- Use oat milk, almond milk, or soy milk in the batter and glaze.
- Replace the butter with vegan butter or a mild coconut oil.
The result is just as delicious, with a slightly different richness that still pairs perfectly with cinnamon and apple.
Alternative Glazes to Try
Switch up your glaze for a new twist:
- Maple Glaze: Replace the milk with pure maple syrup for a cozy, fall flavor.
- Cream Cheese Glaze: Blend softened cream cheese with powdered sugar, a splash of milk, and a pinch of cinnamon for a thicker, tangy finish.
Both options add depth and pair beautifully with the warmth of the spices.
Other Fruit Ideas
While apples are classic, you can experiment with other fruits:
- Pears: Offer a softer, mellow sweetness. Choose firm pears to avoid mushiness.
- Peaches: Diced and well-drained, peaches create a summery version.
- Blueberries: Use fresh, not frozen, to avoid excess moisture.
Each variation adds a different layer of flavor and makes the recipe feel fresh for different seasons.
SERVING IDEAS
Once your cinnamon glazed apple fritter bites are golden, glazed, and ready to eat, it’s time to make them shine on the table. Whether you’re hosting brunch, packing a snack, or setting up a dessert spread, these serving ideas will help elevate your presentation and pairings.
Cozy Pairings That Complement the Flavor
These fritter bites are rich, spiced, and slightly sweet, so they pair beautifully with warm and cozy beverages. Here are a few pairing suggestions to serve them like a pro:
- Hot apple cider: The cinnamon and apple notes make this an instant match.
- Chai tea or spiced herbal tea: Highlights the warm spices in the fritters.
- Coffee with a splash of cream: A classic pairing for fall mornings.
- Vanilla or cinnamon ice cream: Serve fritters warm with a scoop for a comforting dessert.
For a more balanced snack, plate the fritter bites alongside something fresh like sliced fruit or even a crisp fall salad.
How to Serve at Parties or Brunch
These fritter bites are naturally easy to share, which makes them ideal for entertaining. Here are a few fun presentation tips:
- Mini dessert cups: Place 2 to 3 fritters in individual cups for grab-and-go ease.
- Rustic wooden board: Serve a heap of fritters on a wood board, dusted lightly with cinnamon sugar, with a small bowl of extra glaze on the side for dipping.
- Skewer stack: Slide bites onto small skewers for a fun twist. Great for buffets or appetizer trays.
If you’re planning a fall gathering, these make an excellent centerpiece dessert. Their inviting scent and sticky-sweet glaze draw guests in immediately.
FAQs
Why are my fritters not crispy?
If your fritters are turning out soft or greasy instead of crispy, it’s usually due to the oil temperature. The ideal frying range is 340°F to 360°F. If the oil is too cool, the batter soaks it up instead of crisping. Also, don’t overcrowd the pan, and always drain the fritters on a wire rack or paper towels right after frying.
What does eating apples with cinnamon do?
Eating apples with cinnamon is not only delicious, it offers some added benefits. Apples are high in fiber and antioxidants, while cinnamon has anti-inflammatory and blood sugar–regulating properties. Together, they may help with digestion, satiety, and balancing blood sugar after a sweet treat like fritters.
Is apple fritter indica or sativa?
This question refers to a strain of cannabis named “apple fritter.” It’s an indica-dominant hybrid known for its relaxing effects and sweet, apple-pastry flavor. It has no connection to edible apple fritters or recipes, but it shares the name due to its dessert-like aroma.
How to keep apple fritters from getting soggy?
To prevent soggy fritters, let them cool on a wire rack, not a plate. This allows air to circulate and keeps the bottom crisp. If you’re glazing them, make sure the fritters are warm but not hot. Too much heat will melt the glaze and make the surface sticky instead of lightly set.
CONCLUSION
These cinnamon glazed apple fritter bites deliver everything you want in a fall treat. They’re warm, crisp, spiced just right, and coated in a sweet glaze that ties it all together. Whether you serve them at a cozy brunch, share them at a fall gathering, or keep a stash on hand for sweet cravings, they’re guaranteed to disappear fast.
You’ve now got a complete recipe, expert tips, storage tricks, and fun variations that go far beyond the basics. Don’t be surprised if this becomes your go-to fall dessert year after year.
If you try this recipe, drop a comment below and let us know how it turned out. Did you go with the classic glaze, or try the maple version? Share your baking photos and don’t forget to rate the recipe. Your feedback helps others and keeps the community delicious.
Follow me on Pinterest for cozy, easy-to-make recipes that bring big flavor to your table every time.


