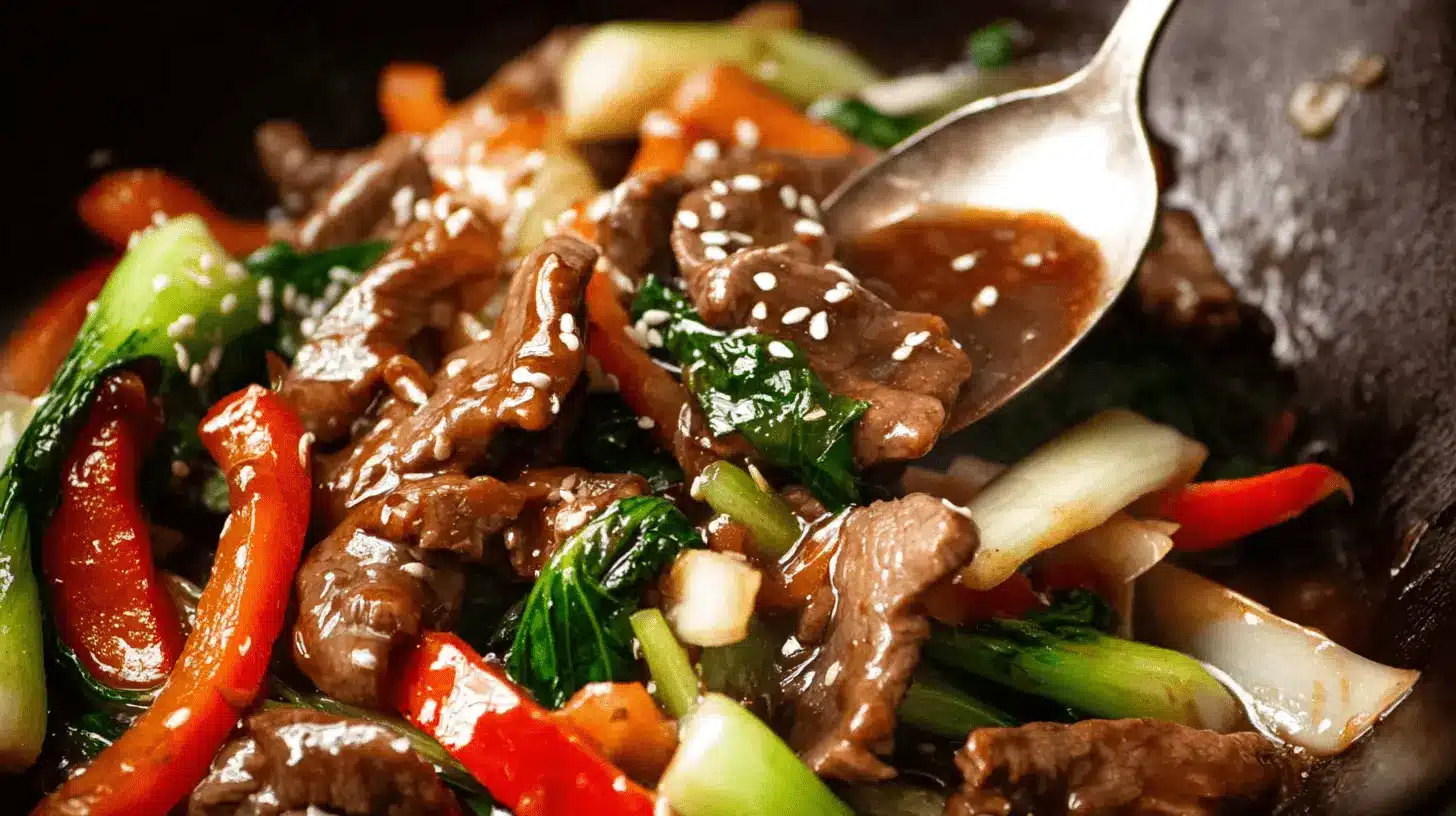
If you’re tired of plain hard-boiled eggs, it’s time to add a vibrant twist that’s equal parts beautiful and bold. Pickled eggs aren’t just a retro snack, they’re making a comeback with style, color, and tangy flavor. In this ultimate guide, you’ll learn how to make two standout recipes: classic beet pickled eggs and a modern twist with spicy kimchi. Whether you’re craving pink pickled eggs for your next party or something with a Korean-inspired kick, you’re in the right place. Get ready to transform your hard-boiled eggs into fridge jewels with foolproof brines and smart serving tips.
Table of Contents
The Classic Recipe for Vibrant Beet Pickled Eggs
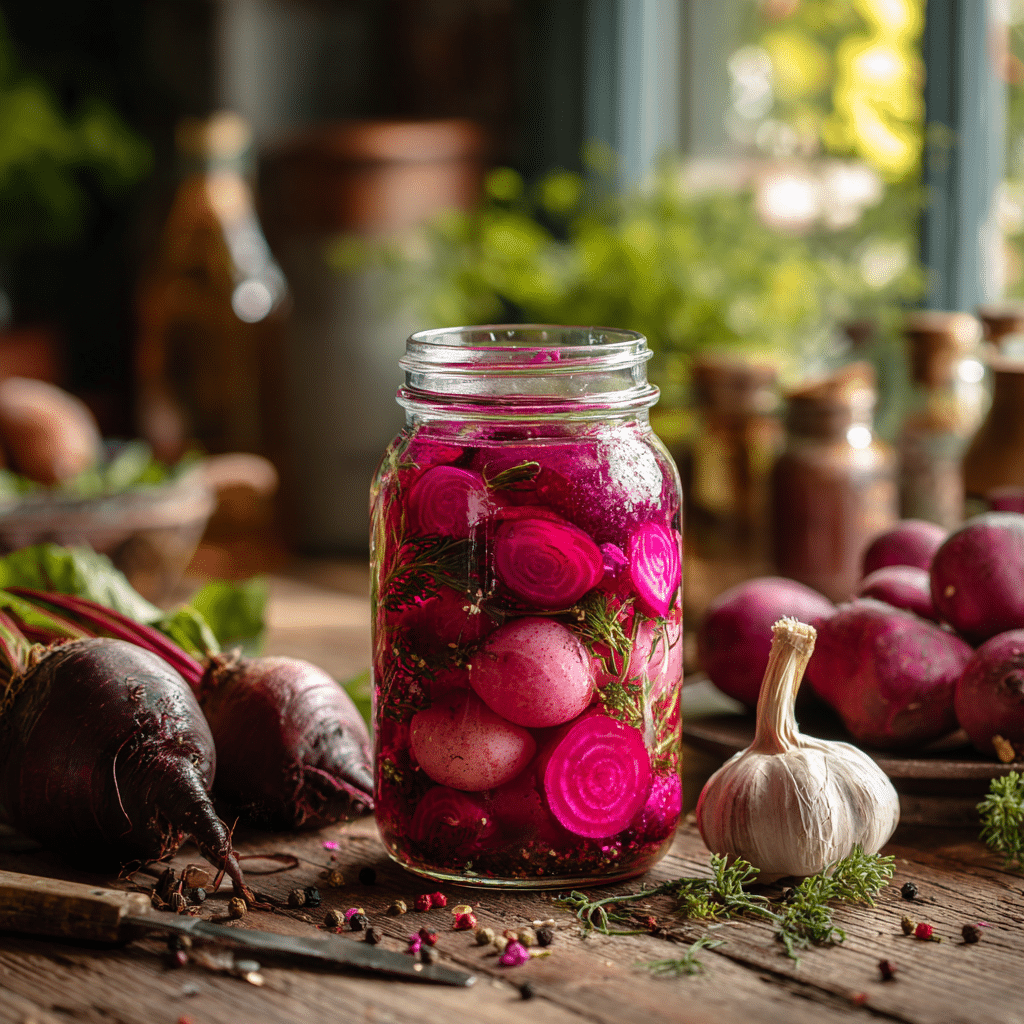
A Sweet and Tangy Tradition
Beet-pickled eggs are the classic version you’ve likely seen at diners or potlucks. These glossy, magenta beauties are tangy, sweet, and just slightly earthy. They’re easy to make and even easier to love. This method uses beet juice for that signature color, vinegar for a clean zing, and a touch of sugar for balance. The result is pink pickled eggs that taste just as incredible as they look.
What makes this better than most recipes is the process. Instead of tossing boiled eggs into beet juice and hoping for the best, you’ll use a structured brine that balances acidity and flavor. This lets you control the color intensity and texture so your eggs turn out flavorful, not rubbery.
Ingredients & Tools You’ll Need
Here’s what goes into the perfect beet pickled egg brine:
- 6–8 hard-boiled eggs (easy-peel tip below)
- 1 cup beet juice (from canned beets or roasted fresh beets)
- ¾ cup apple cider vinegar
- ½ cup water
- 1 tablespoon sugar
- 1 teaspoon salt
- ½ teaspoon black peppercorns
- 2 garlic cloves, smashed
- Optional: 1 small bay leaf or a few allspice berries for depth
Use a clean glass jar with a lid. Wide-mouth mason jars work great. The vinegar base ensures this keeps in the fridge for weeks.
To make foolproof easy peel hard-boiled eggs, always start with slightly older eggs, cover with cold water, bring to a boil, then simmer for 11 minutes. Cool them in an ice bath right away.
Step-by-Step Instructions
- Boil the Eggs: Place eggs in cold water, bring to a boil, then reduce to a simmer for 10 to 11 minutes. Immediately transfer to an ice bath.
- Peel Carefully: Once cool, tap gently and roll. Older eggs usually peel more easily.
- Make the Brine: Combine beet juice, vinegar, water, sugar, salt, garlic, and spices in a saucepan. Bring to a simmer. Remove from heat and cool completely.
- Pickle the Eggs: Layer peeled eggs in a clean glass jar and pour in the cooled brine. Seal the jar and refrigerate.
- Wait: For best color and flavor, let the eggs sit in the brine for at least 2 to 3 days. The longer they sit, the deeper the pink.
Flavor & Color Tips
Want a little kick? Add red pepper flakes or sliced jalapeño. For deeper magenta tones, let the eggs soak up to 5 days. Feel free to tweak your sweet-sour balance by adjusting the sugar or vinegar. These eggs are meant to be bold and customizable.
How to Store Beet Pickled Eggs
Always keep them in the refrigerator in a sealed jar. These are refrigerator pickles, not shelf-stable. If stored properly in their brine, they’ll keep for up to 3 weeks. Be sure to use a clean utensil when removing eggs from the jar to keep everything safe and fresh. You can even repurpose this brine for other vegetables, a trick we also use in our gut-friendly snack ideas featuring fermented and pickled ingredients.
The Modern Twist – Spicy Kimchi-Pickled Eggs
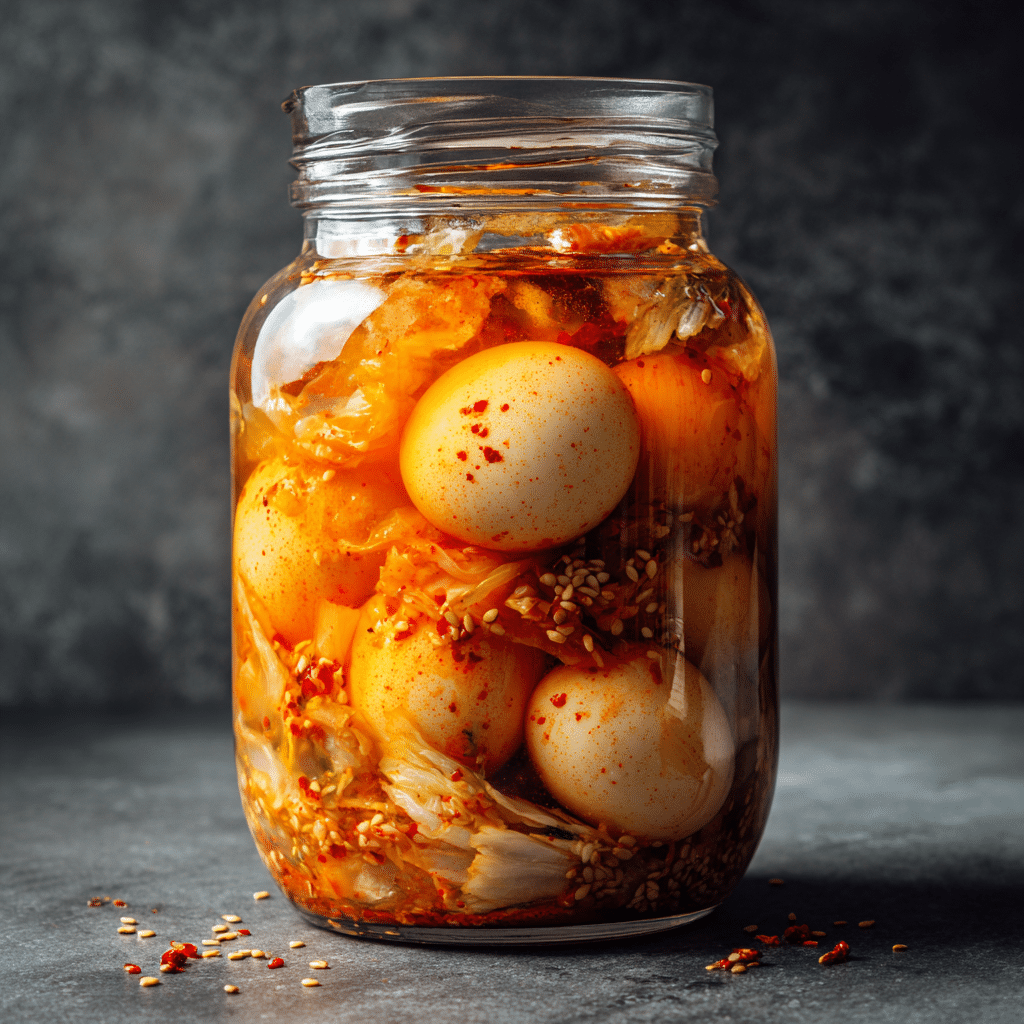
Bold Flavor Meets Funky Heat
Kimchi pickled eggs are the flavor-forward twist your fridge didn’t know it needed. They’re savory, spicy, and totally addictive. If you already love kimchi, this variation will blow your mind. The natural umami of fermented cabbage pairs beautifully with the richness of hard-boiled eggs. What you get is a tangy, slightly funky, and totally snackable protein bite that also happens to be stunning on a plate.
This version is your ticket to modern, Korean-inspired pickled egg magic. And the best part? The brine is easier than you’d think. Use ripe, well-fermented kimchi for maximum depth, or try it with mild kimchi if you’re easing into the heat. This isn’t just a quick-pickled egg, this is fermented flavor at its best.
The savory magic of fermented brine is a natural partner for rich eggs, a concept we also explore in our popular turkey roll-ups with sauerkraut.
What You’ll Need
For the base:
- 6–8 hard-boiled eggs
- 1 cup kimchi, including the juice
- ½ cup rice vinegar
- ½ cup water
- 1 garlic clove, smashed
- 1 tablespoon soy sauce
- 1 teaspoon sesame seeds (optional)
- Optional: 1 teaspoon gochugaru (Korean chili flakes) for heat
Be sure to include plenty of kimchi juice, it’s loaded with probiotics and delivers that unmistakable sour-salty punch.
Choose a wide-mouth jar so you can easily nestle the eggs among the kimchi, pressing it down to keep them fully submerged. If the brine feels too thick to cover them completely, just add a little extra water and vinegar to help it flow and coat the eggs evenly.
How to Make Kimchi Pickled Eggs
- Boil and Peel the Eggs: Follow the same method as Part 1 for perfect, jam-free yolks and clean peels.
- Layer and Pour: Place peeled eggs in the jar, followed by the kimchi, garlic, and optional chili flakes. Pour in the rice vinegar, water, soy sauce, and enough kimchi juice to cover.
- Seal and Chill: Close the jar tightly and refrigerate for at least 2 days. The eggs will take on flavor fast but improve with time.
- Turn Occasionally: Gently rotate the jar each day so all eggs absorb flavor evenly. After 3 to 4 days, they’re perfect.
This brine is milder than it sounds but full of personality. Unlike traditional pickling, the fermented kimchi base means you’re also giving your eggs a probiotic boost. Just like in our gut-friendly protein snacks, fermentation turns a basic bite into a craveable one.
Storage and Serving Tips
Keep your kimchi pickled eggs refrigerated at all times. They’ll stay fresh for up to 2 weeks, but trust us. they won’t last that long. For best flavor and safety, always use clean utensils to scoop them out. You can enjoy them straight from the jar or get creative.

Beet Pickled Eggs Guide: 2 Stunning Recipes You’ll Love
Ingredients
- 6 –8 hard-boiled eggs
- 1 cup beet juice
- ¾ cup apple cider vinegar
- ½ cup water
- 1 tablespoon sugar
- 1 teaspoon salt
- ½ teaspoon black peppercorns
- 2 garlic cloves smashed
- 1 cup kimchi with juice
- ½ cup rice vinegar
- 1 tablespoon soy sauce
- Optional: gochugaru sesame seeds
Instructions
- 1. Boil eggs, then cool in an ice bath and peel.
- 2. Make beet brine by simmering beet juice, vinegar, water, sugar, garlic, and spices. Cool completely.
- 3. Layer eggs in jar and cover with beet brine. Chill for 2–3 days.
- 4. For kimchi eggs, layer eggs with kimchi, garlic, and seasonings.
- 5. Pour in rice vinegar, water, soy sauce, and kimchi juice. Refrigerate 2–4 days.
- 6. Rotate jar daily for even pickling. Taste and serve!
Notes
How to Serve Your Pickled Eggs
From Snack to Showstopper
You’ve got your vibrant beet-pickled eggs and spicy kimchi-pickled eggs chilling in the fridge. Now what? While they’re delicious on their own, they truly shine when turned into easy, eye-catching dishes. These eggs are more than a snack, they’re a fridge staple that transforms into appetizers, lunch toppers, and party favorites in minutes.
Whether you’re slicing them onto salads or making deviled eggs with a bold twist, this section shows you how to serve them right. Think of it as turning your prep into praise. These ideas are fast, fuss-free, and guaranteed to impress.
Everyday Ways to Enjoy
As a Snack (the simplest way):
Eat them cold, straight from the jar. Slice in half, sprinkle with flaky salt or sesame seeds, and enjoy.
With a Cheese & Snack Board:
The pink and orange tones from the beet and kimchi eggs add visual pop to a charcuterie board. Pair with sharp cheddar, olives, pickled onions, and whole grain crackers for contrast. We do something similar in our apple almond butter snack board, proving how color can balance flavor.
In Salads:
Slice the pickled eggs over arugula, cherry tomatoes, cucumber, and drizzle with a sesame vinaigrette. The briny, punchy flavor replaces the need for extra dressing. Kimchi eggs work especially well in grain bowls with brown rice or quinoa.
Bonus Recipe: Beet-Pickled Deviled Eggs
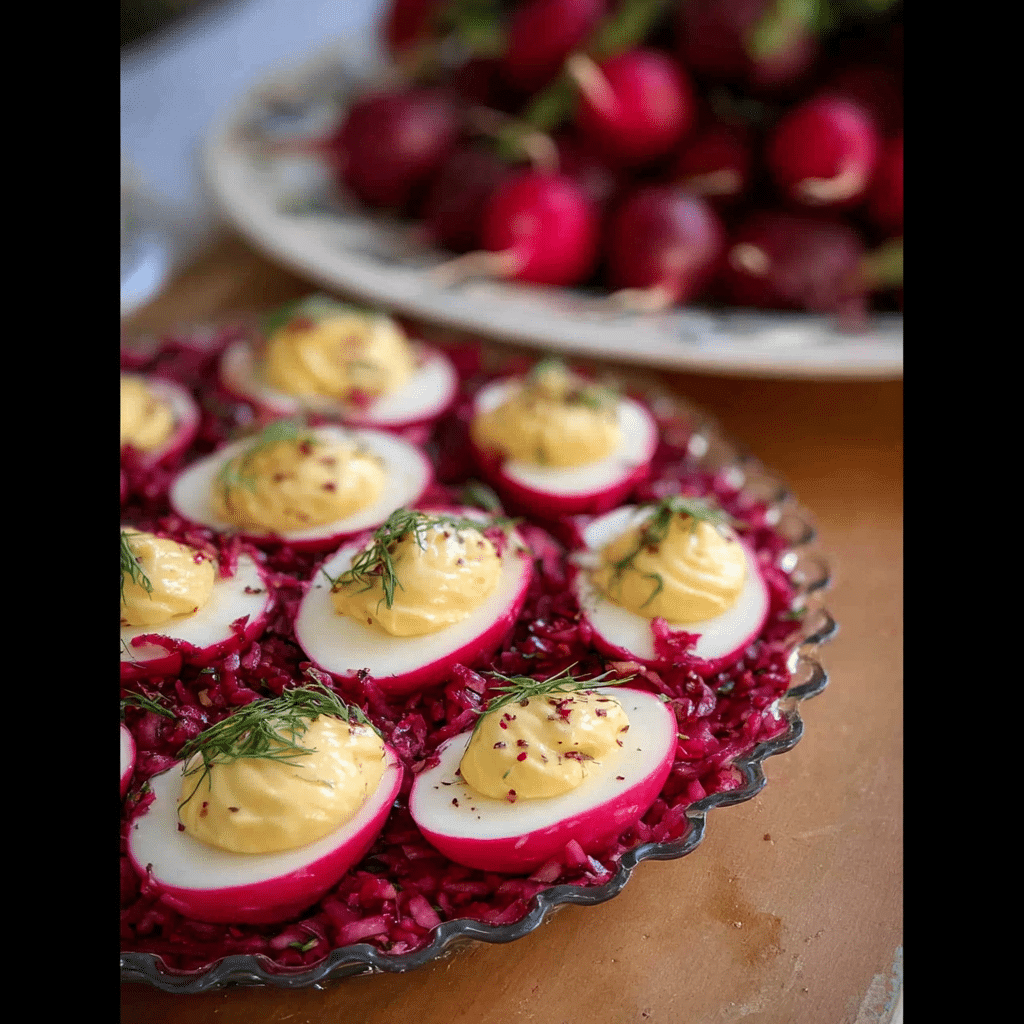
Here’s how to turn your pink pickled eggs into stunning deviled appetizers.
Ingredients:
- 6 beet-pickled eggs, halved
- 3 tablespoons mayo
- 1 teaspoon Dijon mustard
- 1 teaspoon pickle juice (from the brine)
- Salt and pepper to taste
- Optional: chopped chives or dill for garnish
Instructions:
Pop the yolks into a bowl and mash with mayo, mustard, and pickle juice. Spoon or pipe into the egg whites. Garnish and chill.
The vinegar from the beet brine adds an unexpected brightness that makes these feel elevated. They’re a hit at any gathering.
Bonus Recipe: Kimchi-Mayo Deviled Eggs

For the spicy version, these are unforgettable.
Ingredients:
- 6 kimchi-pickled eggs, halved
- 2 tablespoons mayo
- 1 tablespoon finely chopped kimchi
- 1 teaspoon kimchi brine
- Optional: ½ teaspoon gochujang or a dash of sesame oil
Instructions:
Mash the yolks with mayo and kimchi, then adjust the seasoning with brine or gochujang. Fill the whites and top with sesame seeds or scallions.
If you enjoyed our cottage cheese with baby carrots, you’ll love this mashup of creamy and bold. It’s a gut-friendly, protein-packed twist on a classic appetizer.
Tips, Tricks, and FAQ
Pro Tips for Foolproof Pickled Eggs
Pickled eggs seem simple, but a few smart tricks make all the difference between bland and brilliant. These pointers will help you get the most out of every jar.
Use slightly older eggs. They peel easier than fresh ones, which keeps the whites smooth and intact.
Cool the brine before adding eggs. Hot liquid can toughen the egg whites and reduce brine clarity.
Always store in glass jars. Plastic can absorb smells and stain, especially from beets or kimchi.
Wait at least 48 hours. The longer they sit, the more flavor and color you get. But taste after day two to find your sweet spot.
Label your jars. Include the date made and type of brine. It’s easy to forget once you’ve got both beet and kimchi batches going in the fridge.
If you’re new to pickling, these eggs are an easy entry point. Our readers who’ve made no-bake dessert cups have said this recipe gave them the same kind of “wow, I made that” confidence.
Frequently Asked Questions (FAQs)
How do you make the best beet pickled eggs?
The key is to use a balanced brine with vinegar, sugar, and salt, and to let the brine cool completely before adding the eggs. Allowing them to pickle for at least 2 to 3 days ensures the best flavor and a beautiful pink color all the way through.
Is kimchi good with hard-boiled eggs?
Yes. Kimchi’s sour-spicy profile pairs beautifully with hard-boiled eggs. The rich yolk balances the sharpness of fermented cabbage, making it a flavor-packed combo.
Are pickled eggs with beets good for you?
They can be. Pickled eggs are high in protein and low in carbs. Beets offer antioxidants and a boost of fiber. Just watch your sodium intake if you’re sensitive to salt.
Can you put boiled eggs in pickled beet juice?
Absolutely. That’s how traditional pink pickled eggs are made. For best results, let the brine cool before adding the eggs and use it within three weeks.
How long can you keep eggs in pickled beet juice?
Up to three weeks in the refrigerator. Always keep them fully submerged, and use a clean utensil each time to avoid introducing bacteria.
These eggs keep well, taste better with time, and even double as meal prep snacks. You can serve them cold as part of a bento lunch or repurpose extras in potato salad. They’re flexible, frugal, and endlessly fun to experiment with.
Conclusion
Now you’ve got not one, but two vibrant ways to enjoy pickled eggs: the classic beet-stained beauties and the spicy, funky flair of kimchi-pickled eggs. Both are simple to prepare, incredibly flavorful, and perfect for elevating snacks, salads, or appetizers. Whether you love tradition or crave bold new twists, these recipes make hard-boiled eggs feel exciting again.
Give one (or both) a try this week. Then leave a comment and let me know, which version won your fridge? I’d love to hear how you served them and what extras you added to make them your own.


