Discover the magic of a decadent chocolate lava cake right in your own kitchen. This impressive dessert, known for its warm, gooey molten center, is surprisingly simple to master. You can achieve restaurant-quality results with minimal effort and quick preparation. It’s perfect for elevating any special occasion or simply treating yourself to something truly extraordinary.
Table of Contents
Why You’ll Love These Chocolate Lava Cakes
- Rich Chocolate Flavor: Experience a deep, intense chocolate profile that satisfies every craving. This chocolate lava cake delivers a luxurious taste.
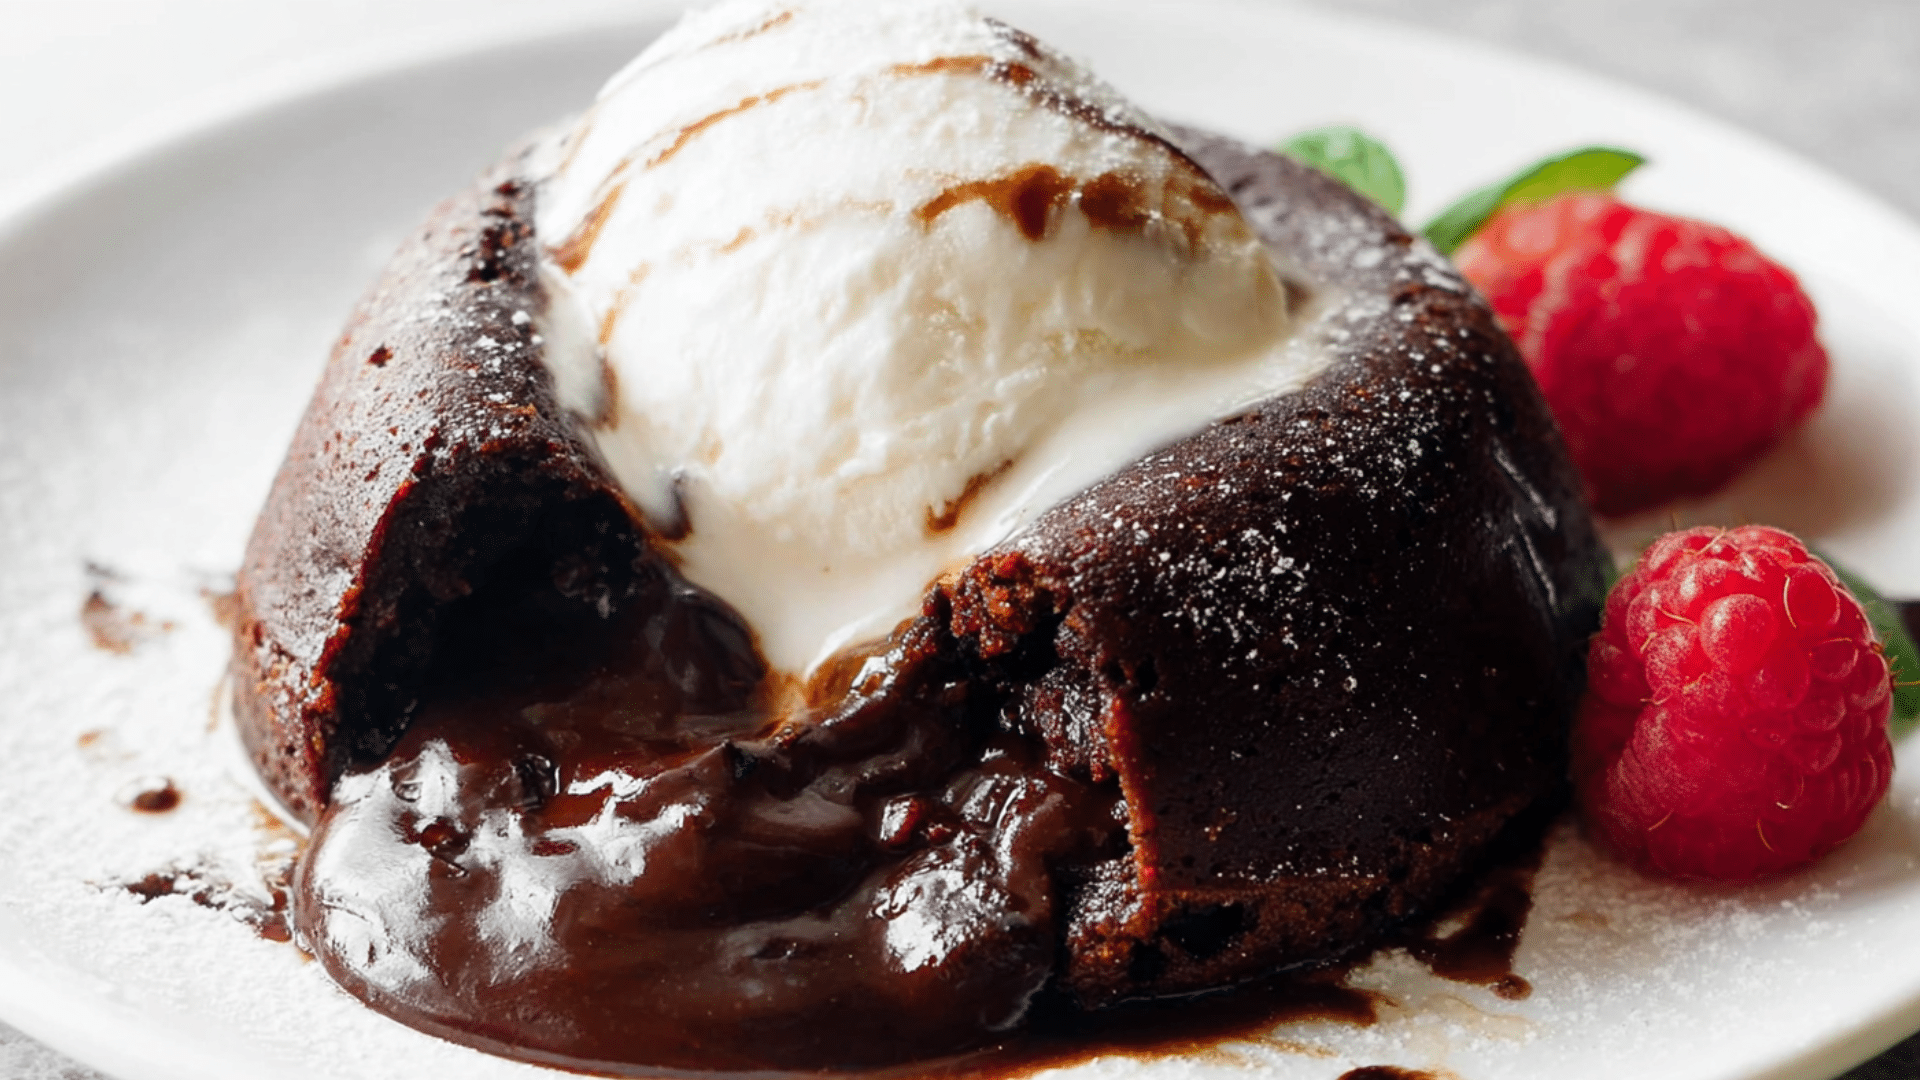
- Gooey Molten Center: The signature irresistible texture of a perfectly runny, warm chocolate core is the star of this dessert.
- Surprisingly Easy: Forget complex techniques; this recipe uses simple steps that even beginners can confidently follow.
- Quick to Make: From start to finish, you can have these warm, melty cakes ready in under 30 minutes.
- Minimal Ingredients: You only need a few common pantry staples to create this show-stopping treat.
- No Special Mixer Needed: A simple whisk and rubber spatula are all the tools you require to mix up the batter.

Chocolate Lava Cake Recipe
Equipment
- Ramekins
- Heat-proof Bowl
- Whisk
- Silicone Spatula or Wooden Spoon
- Baking sheet
- Oven Mitts
Ingredients
Lava Cake
- 6 ounces high-quality semi-sweet chocolate (170g)
- 1/2 cup unsalted butter (8 Tbsp; 113g)
- 1/4 cup all-purpose flour (31g) (spooned & leveled)
- 1/2 cup confectioners’ sugar (60g)
- 1/8 teaspoon salt
- 2 large eggs
- 2 large egg yolks
For Topping (Optional)
- ice cream optional
- berries optional
- chocolate syrup optional
Instructions
Preparation
- Prepare four 6-ounce ramekins by spraying them with nonstick cooking spray and dusting with cocoa powder to prevent sticking. Alternatively, prepare half of a 12-count muffin pan for 6 cakes.
Baking
- Preheat your oven to 425°F (218°C).
- Coarsely chop the chocolate, then combine it with butter in a heat-proof bowl. Microwave in 10-second intervals, stirring until smooth, then set aside.
- In separate bowls, whisk together flour, sugar, and salt, and then whisk eggs and egg yolks. Combine both mixtures with the melted chocolate, stirring slowly with a spatula until just combined and slightly thick.
- Evenly distribute the chocolate batter into the prepared ramekins or muffin cups.
- Place ramekins on a baking sheet and bake for 12-14 minutes until the sides are firm but the tops remain soft. Muffin pan cakes will bake faster, in 8-10 minutes.
Serving
- After cooling for one minute, carefully invert each ramekin onto a plate using an oven mitt; the cakes should release easily. If using a muffin pan, use a spoon to release and invert cakes onto plates.
- Add your desired toppings and serve the warm lava cakes immediately.
Notes
Ingredients
To make these incredible chocolate lava cakes, gather these essential items. Using high-quality ingredients ensures the best flavor for your molten chocolate lava cake.
- 6 ounces (170g) high-quality semi-sweet chocolate
- 1/2 cup (8 Tbsp; 113g) unsalted butter
- 1/4 cup (31g) all-purpose flour (spooned & leveled)
- 1/2 cup (60g) confectioners’ sugar
- 1/8 teaspoon salt
- 2 large eggs
- 2 large egg yolks
- Optional for topping: vanilla ice cream, fresh raspberries, chocolate syrup
Notes & Substitutions:
Chocolate: Always choose good quality semi-sweet baking bars, not chocolate chips. Chips contain stabilizers that prevent proper melting, which is crucial for the molten center. According to research on food science, the quality and composition of chocolate significantly influence its melting properties and overall flavor. Eggs: Two whole eggs combined with two additional egg yolks contribute to a richer, denser batter and an incredibly gooey middle. Studies on baking science indicate that egg yolks act as emulsifiers in cake batter, helping to create a smoother consistency and a more stable structure. Flour: Measure your all-purpose flour by spooning it into the measuring cup and then leveling it off with a straight edge. This prevents over-measuring, which can lead to a less gooey center. Salt: A small pinch of salt balances the sweetness of the chocolate and sugar, enhancing the overall flavor without making it salty.
Equipment
You don’t need fancy tools to make a magnificent chocolate lava cake. Gather these basic kitchen essentials:
- Four 6-ounce ramekins (or a 12-count muffin pan for smaller cakes)
- Two heat-proof mixing bowls (one medium, two small)
- A whisk and a rubber spatula
- A baking sheet
- Measuring cups and spoons
Instructions
Follow these clear, step-by-step instructions to create your perfect chocolate lava cake. Precision in baking time is key to achieving that signature molten core.
- Prepare Ramekins: Lightly spray four 6-ounce ramekins with nonstick cooking spray. Then, dust them with cocoa powder, rotating to coat completely. This vital step helps the cakes release effortlessly after baking. If using a 12-count muffin pan, spray six muffin cups and dust with cocoa powder; this yields six smaller cakes.
- Preheat Oven: Set your oven to 425°F (218°C). This high temperature is essential for quickly baking the cake edges while keeping the center molten.
- Melt Chocolate & Butter: Coarsely chop the high-quality semi-sweet chocolate. Place the unsalted butter in a medium heat-proof bowl, then add the chopped chocolate on top. Microwave the mixture on high in short 10-second increments. Stir well after each interval until the chocolate and butter are completely smooth and melted. Set this mixture aside to cool slightly.
- Combine Dry Ingredients: In a small bowl, whisk together the all-purpose flour, confectioners’ sugar, and salt. Ensure these dry ingredients are well combined to prevent lumps in the batter.
- Whisk Eggs: In another small bowl, whisk the two large whole eggs and two large egg yolks together until they are fully combined and slightly frothy. This provides richness and structure to the cake.
- Mix Batter: Pour the prepared flour mixture and the whisked eggs into the bowl containing the cooled melted chocolate. Using a silicone spatula or wooden spoon, slowly and gently stir everything together until just combined. If you see any small lumps, gently use your whisk to smooth them out. The finished batter should be slightly thick and uniform.
- Fill Ramekins: Evenly spoon the chocolate batter into each of your prepared ramekins or muffin cups. Fill them about two-thirds full, leaving room for the cakes to rise slightly.
- Bake Cakes: Place the filled ramekins onto a baking sheet. Bake for 12–14 minutes. The cakes are ready when the sides appear firm and set, but the centers still look soft and slightly jiggly. If baking in a muffin pan, the cakes will cook faster, typically taking only about 8–10 minutes. Do not overbake to ensure the molten center.
- Cool & Invert: Remove the cakes from the oven. Allow them to cool for just 1 minute. While hot, cover each ramekin with an inverted plate and carefully turn it over. Use an oven mitt as the ramekins will be very hot. The chocolate lava cake should slide out easily. If using a muffin pan, use a spoon to gently release the cakes and invert them onto individual plates.
- Serve Immediately: Add your desired toppings such as a scoop of vanilla ice cream, fresh berries, or a drizzle of chocolate syrup. Enjoy your warm, gooey chocolate lava cake right away.
Pro Tips for Perfect Chocolate Lava Cakes
- Avoid Overbaking: This is the most crucial tip! Baking even a minute too long can turn your molten center into a fully baked cake. Watch for firm edges and a slightly jiggly center.
- Generous Ramekin Prep: Thoroughly greasing and dusting your ramekins with cocoa powder is key. It ensures your delicate chocolate lava cake releases cleanly for a beautiful presentation.
- Quality Chocolate Matters: Investing in high-quality semi-sweet baking chocolate significantly enhances the richness and depth of flavor.
- Serve Promptly: These cakes are best enjoyed warm, straight from the oven, when the center is at its most molten and irresistible.
- Room Temp Batter: Ensure your eggs are at room temperature before mixing. This helps them combine more smoothly with the chocolate and butter, leading to a more uniform bake.
- High Altitude Adjustment: For higher altitudes, you might need to add an extra tablespoon of flour to the batter to provide a little more structure. Refer to the FAQ for more details.
Serving Suggestions & Variations
Elevate your chocolate lava cake experience with these delicious ideas. These simple additions can transform your dessert.
- Classic Pairings: Serve your warm cakes with a scoop of creamy vanilla bean ice cream. A handful of fresh raspberries or sliced strawberries also adds a lovely contrast.
- Decadent Toppings: Drizzle warm salted caramel sauce, melted Nutella, or a dollop of mocha whipped cream over the top.
- Flavor Boost: Stir 1/2 teaspoon of instant espresso powder into the melted chocolate and butter mixture. This subtly deepens the chocolate flavor.
- Peanut Butter Twist: Add a spoonful of creamy peanut butter on the side or directly on top for a delightful nutty complement.
- Holiday Touch: During festive seasons, garnish with a sprinkle of peppermint dust or a dusting of cinnamon sugar.
Nutrition Information
Here is a general nutritional estimate for one serving of this chocolate lava cake, without optional toppings. Please note that exact values can vary based on specific ingredients and brands used.
| Nutrient | Amount Per Serving |
|---|---|
| Calories | 420 |
| Total Fat | 30g |
| Saturated Fat | 18g |
| Cholesterol | 150mg |
| Sodium | 40mg |
| Total Carbohydrates | 35g |
| Dietary Fiber | 2g |
| Total Sugars | 25g |
| Protein | 7g |
FAQ
Can I prepare the batter ahead of time?
Yes, you can prepare the chocolate lava cake batter up to 24 hours in advance. Cover it tightly and store it in the refrigerator, then let it come to room temperature for about 30 minutes before baking for best results.
How do I store and reheat leftover lava cakes?
Store any leftover cakes in an airtight container in the refrigerator for up to 2-3 days. Reheat them gently in the microwave for 15-30 seconds, or in a preheated oven at 350°F (175°C) for 5-7 minutes, until warmed through.
Can I use chocolate chips instead of baking bars?
While convenient, chocolate chips are not recommended for this recipe. They contain stabilizers that prevent them from melting into a perfectly smooth, flowing molten center, which is crucial for a true chocolate lava cake.
What if I don’t have ramekins for baking?
You can use a 12-count muffin pan! Simply grease and dust six muffin cups, and bake for a shorter time, usually 8-10 minutes. The cakes will be smaller but equally delicious.
Are there high-altitude adjustments for this recipe?
Yes, at higher altitudes, you might need to add 1 tablespoon of extra all-purpose flour to the batter. This slight adjustment helps to stabilize the cake structure and prevent excessive rising or collapsing.
Conclusion
You now have all the tools and knowledge to create a truly spectacular chocolate lava cake. This recipe proves that even the most impressive desserts can be quick, easy, and beginner-friendly. Get ready to impress your friends and family with minimal effort and maximum flavor. Share your delicious, molten-centered creations and enjoy every rich bite!